

3 Photoshop techniques to create killer photo manipulations
If you're reading this article, chances are you already know what a powerful tool Adobe Photoshop is. The fact that the word photoshop is now a verb should also be testament to that fact.
However, Photoshop can also be a daunting tool, especially for beginners. Therefore I've made this handy guide for anyone looking to get into photo manipulation.
Once you've mastered these three tools, the only limit is your imagination when it comes to creating amazing artwork.
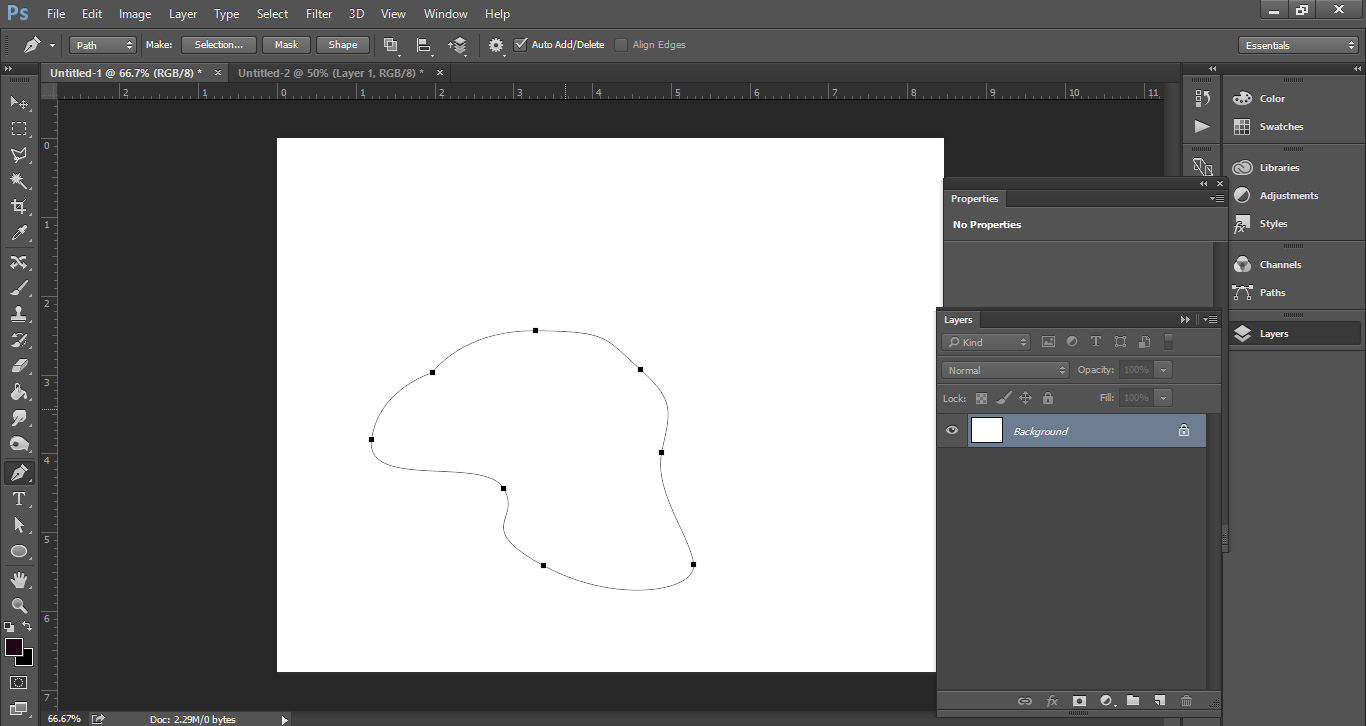
1. The Pen Tool
In my humble opinion, this is one of the most powerful tools Photoshop has to offer. It allows you to make accurate selections using Bézier Curves.

- Select the pen tool from the tool palette
- Click on the canvas to make your first point.
- Click and hold to make your second point. Whilst holding, drag your mouse to create a curve.
- Repeat until you have created a complete path
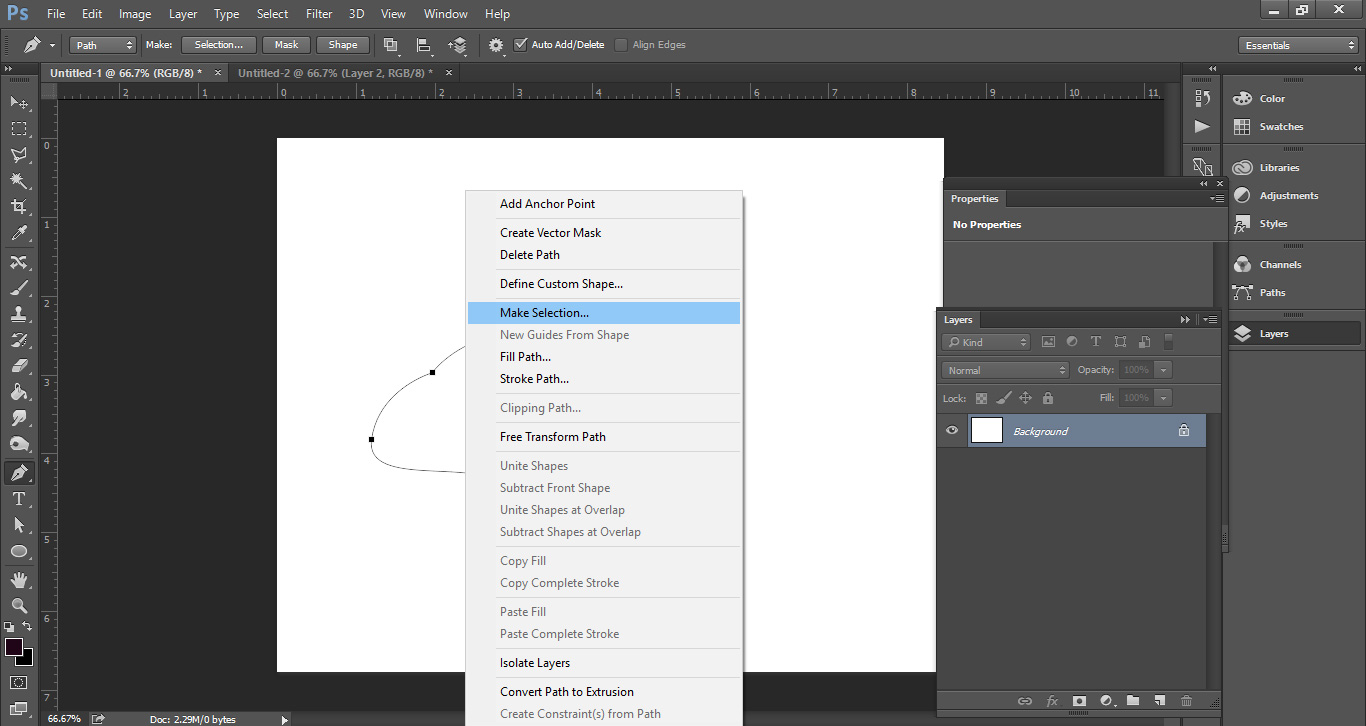
Once you have a complete path, right click (cmd click on a mac) and select 'Make Selection'.
The key to the pen tool is practice, practice and practice some more...
To see the pen tool in action, see one of my time lapse videos here:
2. Masks
Once you have a selection, you can create a mask. Masks are incredibly useful because you can make non-destructive edits. For example, instead of cutting out objects with the erase tool (which gets rid of unwanted parts for ever), you can create a mask that you can continue to make edits too, without losing any of the original image.
To make a mask:
- Make a selection around an object using the pen tool.
- Click the 'Add Layer Mask' icon in your layers palette.

Once you have your mask you can paint in black or white to add or remove areas of the image.

To see masks in action, check out my video below. In the video, not only do I use masks to make selections, but to paint in highlights and shadows on the model.
3.mThe Brush Tool
If you've watched the above videos, you'll see me use the brush tool a lot. Again, the key to mastering it is practice, but it helps to know some of the basics. A graphics tablet doesn't hurt either.
To create a hard edge, make sure you're brush is set to 100% hardness.
For a softer, more blurred edge, make sure you adjust your settings to 0%.

There are a variety of shaped and textured brushes out there for you to download and experiment with.
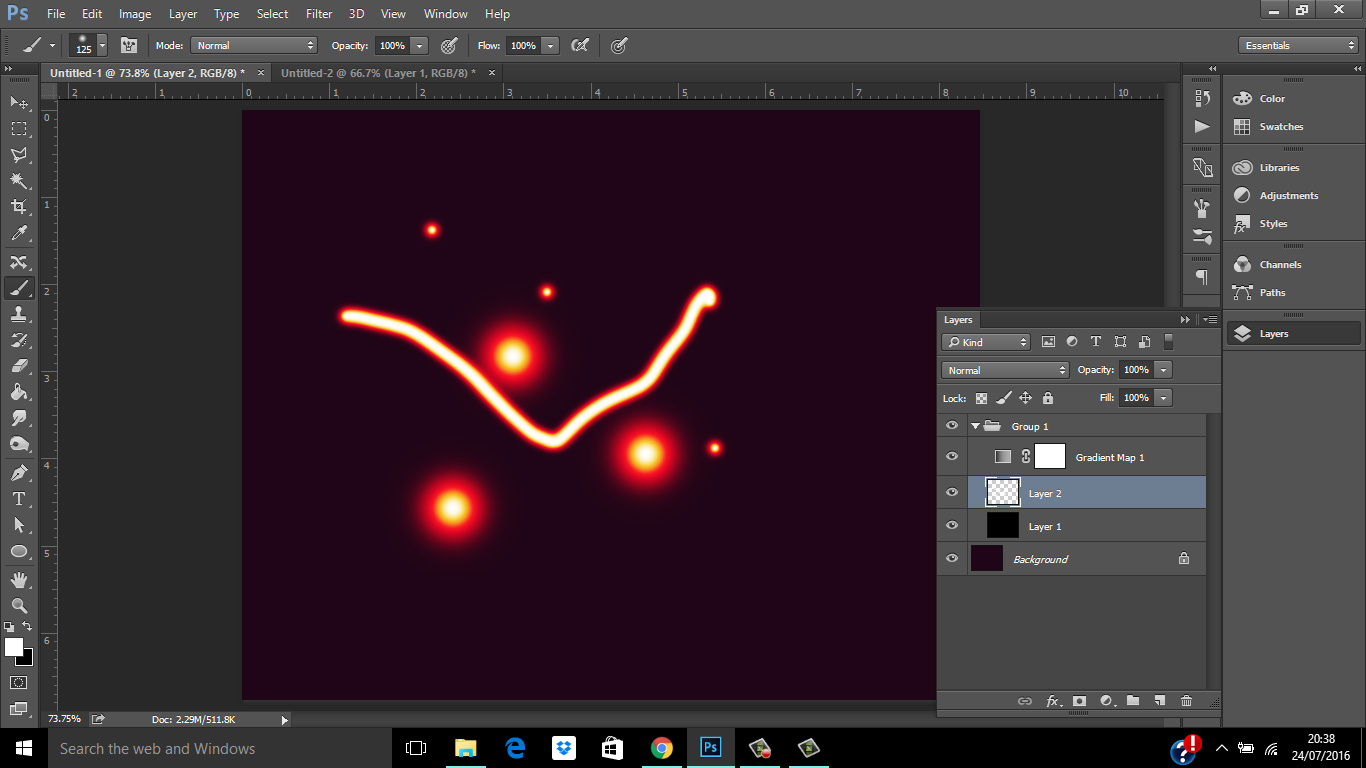
Bonus: Making Magic
In the last video, I use a technique to create glowing light effects.
To create this effect, first make a group. Set the group's blend mode to 'Screen'.
Then add in two layers to the group. Fill the bottom one with black.
Next, create a gradient map adjustment layer above your two existing layers.

Make sure your gradient map starts with black and ends with white. Then choose the middle colours you want your magic to be.
Now, when you paint white into your middle layer you will see the effect. Opaque white will be white, but any transparency will show the colours you have chosen. See below.
Soft brushes work really well with this technique. Experiment to see what you can come up with.
I hope you've been inspired by this post, if you have any questions - please feel free to talk to me or share your own artwork in the comments section.